Complete Guide to Square Integration with ID Verify
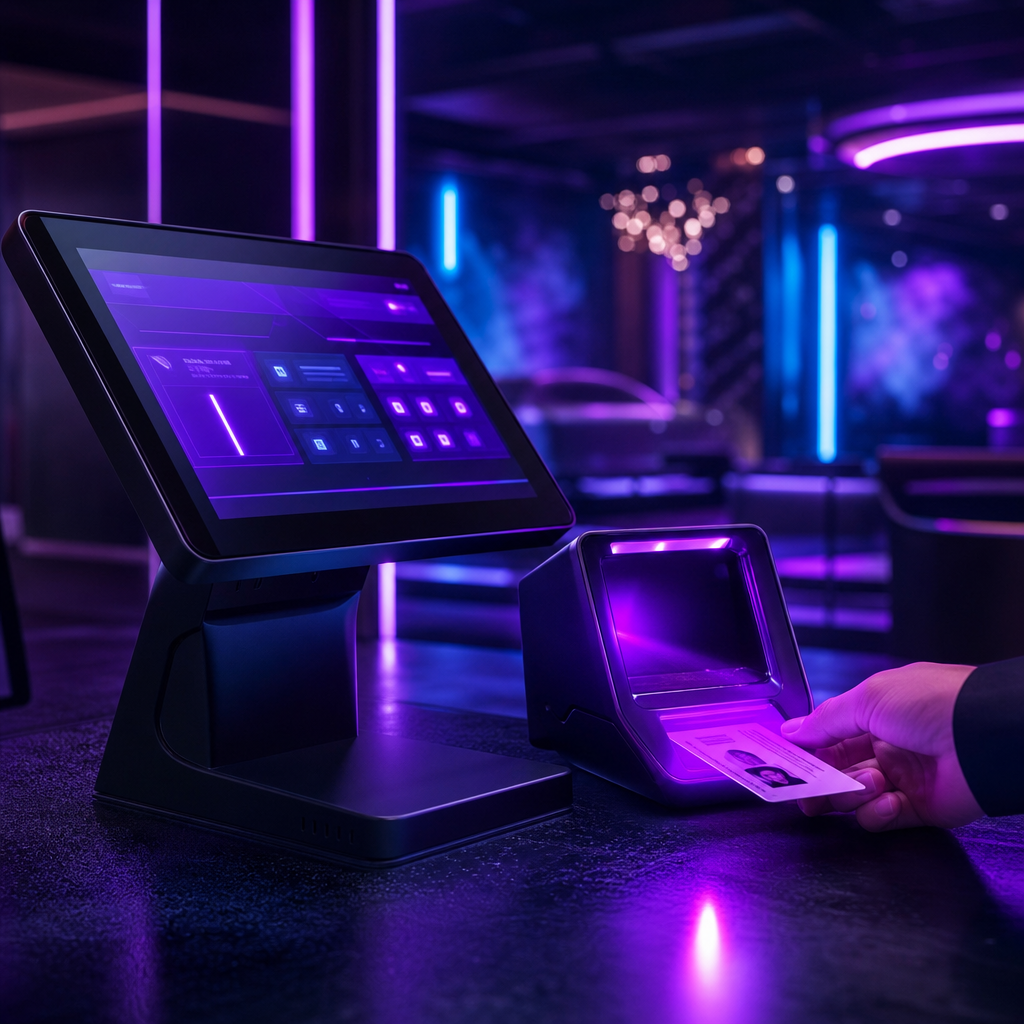
If your staff currently checks an ID with one device and rings up the sale on another, you already know the awkward little dance that follows: scan, set the scanner down, pick up the terminal, hunt for the right screen, run the card. Connecting Square to ID Verify collapses that whole sequence into a single flow on a single device. You verify the customer, take the payment, and move on. This guide walks through the setup end to end, from linking your accounts to the features you will grow into once the basics feel natural.
Why bother connecting the two
The obvious win is one device instead of two, but the quieter benefits are the ones that matter over a busy shift. Payment happens the moment verification clears, so the line keeps moving. Age checks on restricted items stop depending on whether a tired employee did the birthday math correctly, because the app already knows the customer's age and the category's rule. And because both the scan and the sale land in the same record, your transaction logs actually tell a coherent story at the end of the night rather than living in two systems that never quite agree. Customers feel the difference too. Service that looks smooth and deliberate reads as professional, even when the room is packed.
What you need before you start
The integration assumes a few things are already in place. You will need an active ID Verify Pro account and a Square merchant account, plus a compatible Square Reader, either the Contactless and Chip reader or a Square Terminal. On the ID Verify side you will be running the app on an iPhone or iPad on iOS 14 or later. And since both sides talk to their respective clouds constantly, a stable internet connection is not optional. Sort those out first and the rest of the setup takes minutes rather than an afternoon.
Linking your Square account
Open ID Verify and head to Settings, then Integrations, and choose Square from the list. Tap Connect Square Account, log in with your Square credentials, and authorize ID Verify to access the account. If you run more than one location under Square, you will be asked which one to link, so pick the location this device belongs to. That authorization is the whole handshake. Once it goes through, the two systems can pass transactions back and forth without you touching either dashboard again.
With the accounts talking, take a minute to set your payment defaults so the app behaves the way your business actually runs. This is where you decide which payment types are live, whether cash is enabled alongside cards, what your contactless limits are, and how tipping is presented. It is also where you set the boring but important defaults: your tax rate, automatic gratuity for large parties if you use it, receipt preferences, and how refunds are handled. Getting these right once saves a lot of mid-shift fiddling later.
Pairing your reader
How you connect the hardware depends on which one you have. For a Bluetooth reader, make sure Bluetooth is on and the reader is powered up, then go to Settings and Hardware in ID Verify, choose Pair New Reader, and follow the prompts. Run one sample transaction before you trust it with a real customer. A Square Terminal is even simpler: put it on the same network, note the device code it shows, enter that code in the ID Verify app, and confirm the pairing on the Terminal's own screen.
Setting up age-restricted items
This is where the integration earns its keep. Group your restricted products into categories that match how the law sees them, and attach the right age rule to each. Alcohol and tobacco are 21-and-over, cannabis is 21-and-over or requires a valid medical card, lottery tickets are 18-and-over, and something like spray paint is 18-and-over in the states that regulate it. Once the categories exist, ID Verify enforces the age requirement automatically when one of those items is rung up.
You will also want to decide how exceptions are handled before you ever need one. Set which staff can override a block, whether a manager has to approve it, and which situations, if any, are exempt. Deciding this in advance means an override is a deliberate, logged action rather than a judgment call made under pressure at the register.
Growing into the advanced features
Once the daily flow is second nature, a handful of features are worth turning on. For venues that charge at the door, cover charge collection lives in Venue Settings. Enable it, set a default amount, and layer in time-based rules if your pricing changes: weekday versus weekend, special-event pricing, or happy-hour exemptions. The same area handles guest lists and comps, so you can import a list, set your comp rules, build VIP tiers, and manage table reservations without a separate spreadsheet.
Tab management is the other big one for bars. Opening a tab starts with the scan, which is the point: you verify age, tap Open Tab, pre-authorize the card, and optionally set a spending limit, and the customer's ID is now linked to that tab. That link is what prevents walkouts, since the tab is tied to a real, verified identity rather than a card someone can quietly abandon. From there tabs can move between staff, split across a group, take tips at close, and email receipts on their own.
If you run a loyalty program, you can build membership tiers keyed to visit counts, roughly bronze at a hundred visits climbing up to platinum past a thousand, and attach benefits like automatic discounts, skip-the-line privileges, birthday rewards, and invitations to members-only events. None of this is required to get value out of the integration, so add it when your team is ready rather than all at once on day one.
When something goes wrong
Most problems are mundane and fixable in under a minute. If a reader will not connect, restart both devices, confirm Bluetooth or Wi-Fi is actually on, update the reader's firmware, and if it is still stubborn, reinstall the ID Verify app before you call anyone. If a payment gets declined while the ID reads as perfectly valid, the trouble is almost always on the payment side rather than the verification side: check your internet, confirm your Square account is in good standing, look at the reader's battery, and rule out transaction limits or a restriction on the customer's card. When the two systems seem out of step, force a sync in Settings and check that the account is still properly linked and its API permissions are intact. The error logs will usually point at the culprit, and integration support can take it from there if not.
Habits that keep it running smoothly
A little routine goes a long way. At the start of a shift, test the reader connection, confirm the internet is stable, load printer paper if you use one, and glance at any special pricing that is active that day. During service, keep the reader charged, sync now and then, and keep an eye on the transaction log so exceptions get handled while they are still fresh. At close, shut down every open tab, run the end-of-day report, reconcile the numbers, and put the hardware on to charge.
Two security points are worth stating plainly because they protect you legally. Card data is never stored on your device; Square's tokenization handles the sensitive part, which is what keeps you inside PCI compliance as long as your app stays updated and your staff understands not to write numbers down. ID data is treated the same way, encrypted, kept only as long as it needs to be, gated behind access controls, and tracked with an audit trail you can actually produce if someone asks.
The reporting you get for free
Because everything runs through one system, the reports come out already joined up. You can pull a daily summary of sales, scans, and age distribution, break payments down by cash versus card, see your genuine peak hours, look at customer demographics, and review compliance events like refused sales and expired IDs. Any of it exports to CSV or PDF from the Reports screen: pick a date range, choose the report, select a format, and email or download it. That ID Verify data also surfaces inside your Square Dashboard, so your payment analytics and your verification analytics finally sit in the same place instead of two tabs you have to mentally stitch together.
Tuned for how your industry actually works
The integration flexes to fit the room. Bars and nightclubs lean on high-volume processing, quick-scan settings, batch closing for events, and wristband tie-ins. Dispensaries need medical-card verification, purchase-limit tracking, state reporting, and solid cash-management tools. Retail leans the other direction, toward inventory integration, age-restricted SKUs, self-checkout support, and delivery verification. You are not bending your operation around the software; you are turning on the parts that match it.
What it costs
There are no ID Verify surcharges layered on top of your payments. Standard Square processing rates apply, volume discounts are available as you scale, and enterprise pricing exists if you need it. On hardware, a Square Reader runs roughly $49 to $59, a Square Terminal lands around $299 to $399, and an iPad stand is somewhere near $169 to $200, with complete packages available if you would rather buy it all at once.
Getting started
The honest advice is to start small. Link the accounts, pair a reader, set up your restricted categories, and run real transactions for a few shifts before you touch cover charges, tabs, or loyalty tiers. Let the team get comfortable with the core flow, then add the advanced pieces as they earn their place. Keep both apps updated and your hardware charged, and the system mostly takes care of itself.
If you get stuck, ID Verify support is available around the clock through in-app chat, by email at support@idverify.io, by phone at 1-800-IDVERIFY, or through the knowledge base at help.idverify.io, and Square has its own support line at 1-855-700-6000 for anything on their side. Set it up once, build the habits, and you end up with a single, compliant, verified-and-paid workflow that is faster for your staff and smoother for your customers.